Custom Straight Tuck with Rise-up Inserts
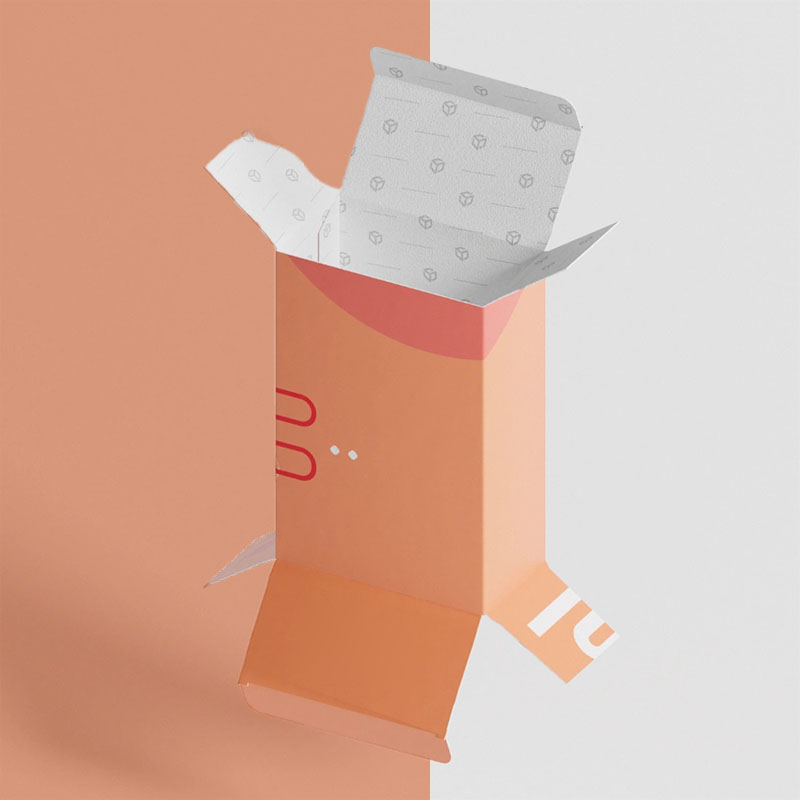
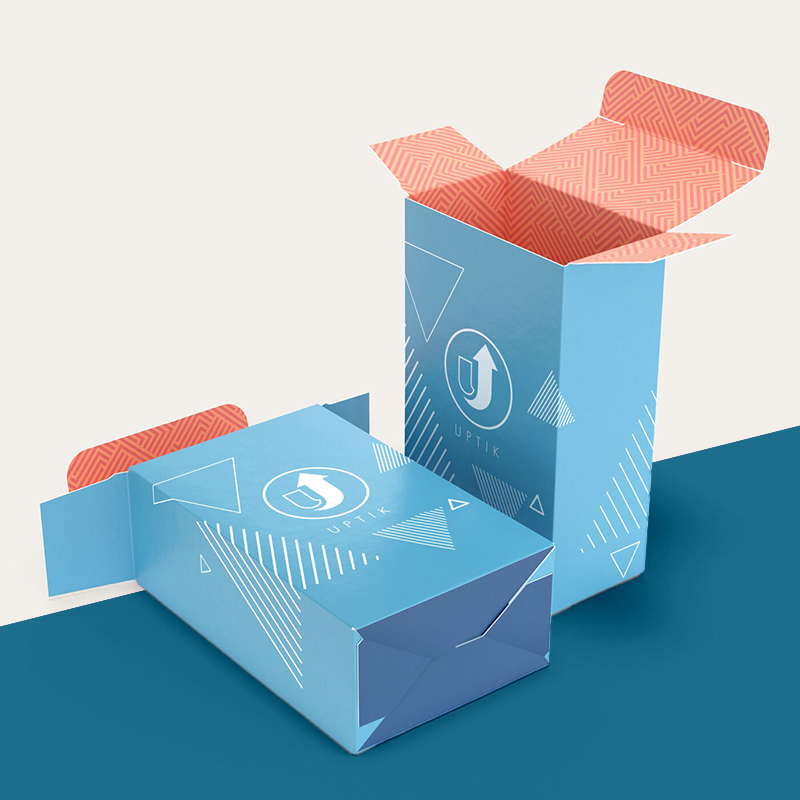
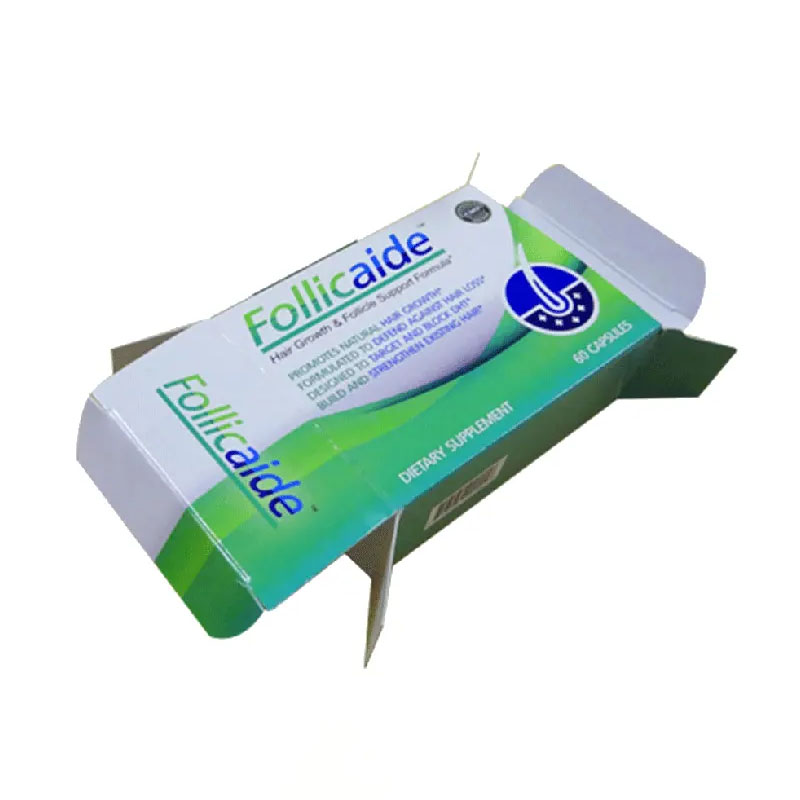
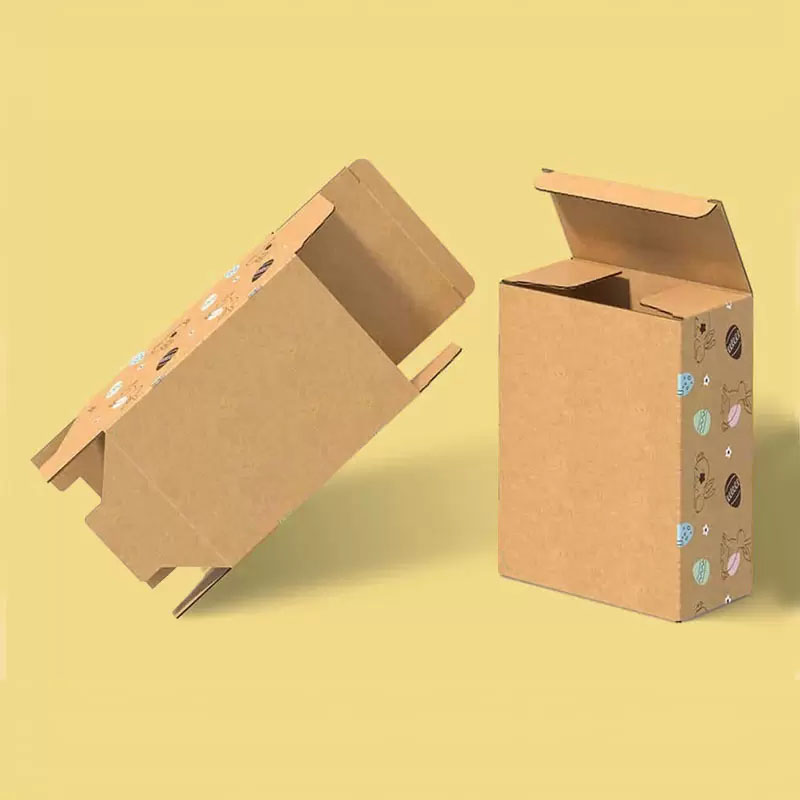
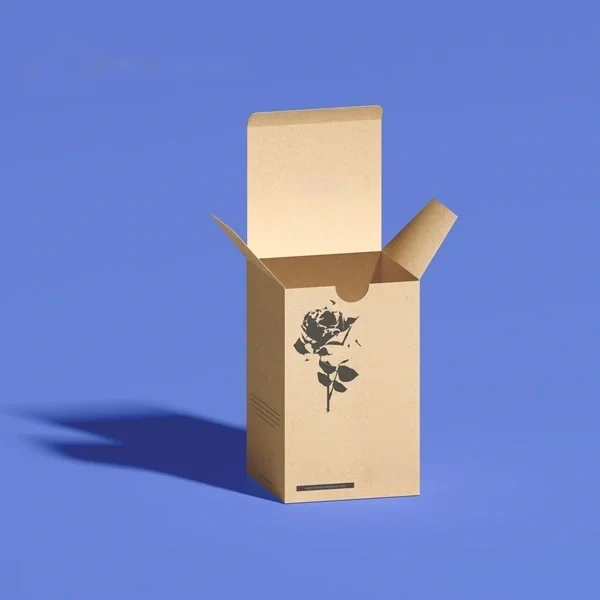
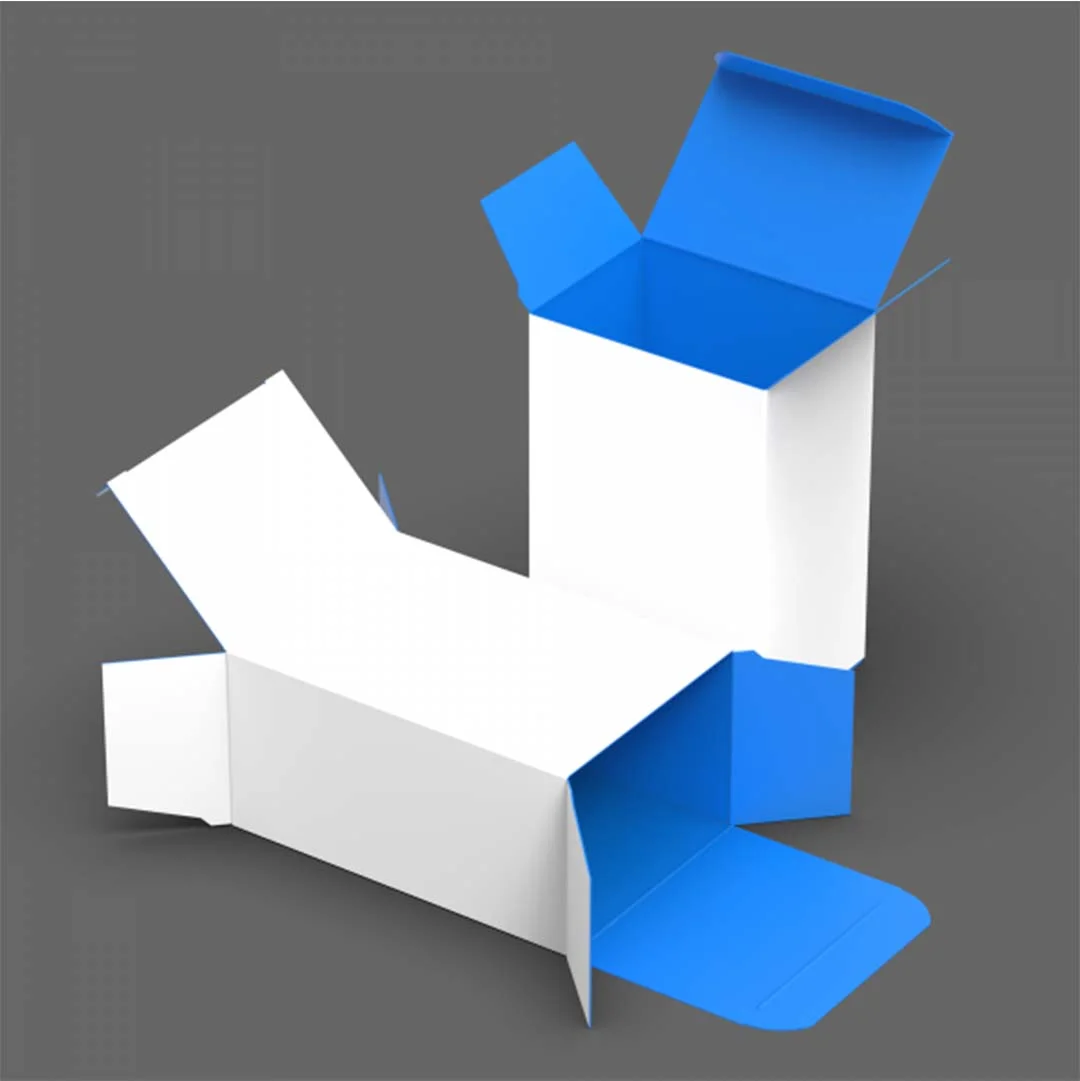
Custom straight tuck end boxes with a rise-up insert, from 100 — a folding carton with a printed card platform inside that is tied to the lid, so opening the tuck raises the product up out of the box and into the hand instead of leaving it to be shaken out.
Open the lid and the product stands up to meet you
- Board
- 16–24 pt SBS for the carton and insert; kraft-backed board on request
- Build
- Straight tuck end carton with a glued rise-up insert card
- Insert
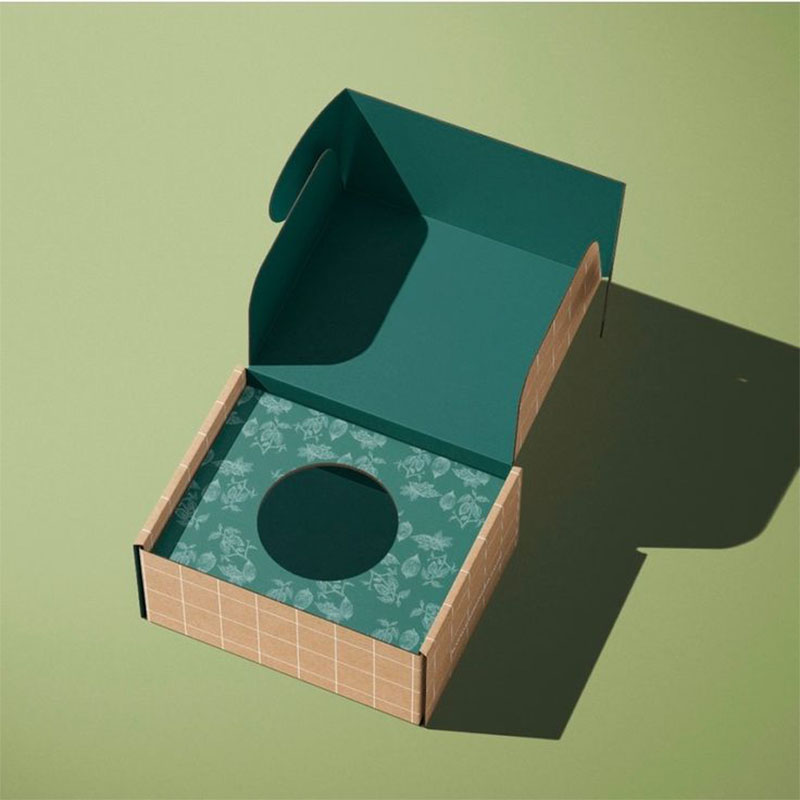
- Single slot, shaped cradle, tilted shelf or twin slot
Get a price for Straight Tuck with Rise UP Inserts
Send the size and quantity — we reply the same working day with a price, a dieline and a date. Artwork optional at this stage.
- Free dielineThe flat drawing comes with the quote, before you commit.
- Proof before pressNothing is printed until you have seen it laid on the dieline.
- Die kept for reordersTooling is paid once. Every reorder skips straight to press.
- Quoted in four marketsUS, UK, Canada and Australia, in the delivery currency.

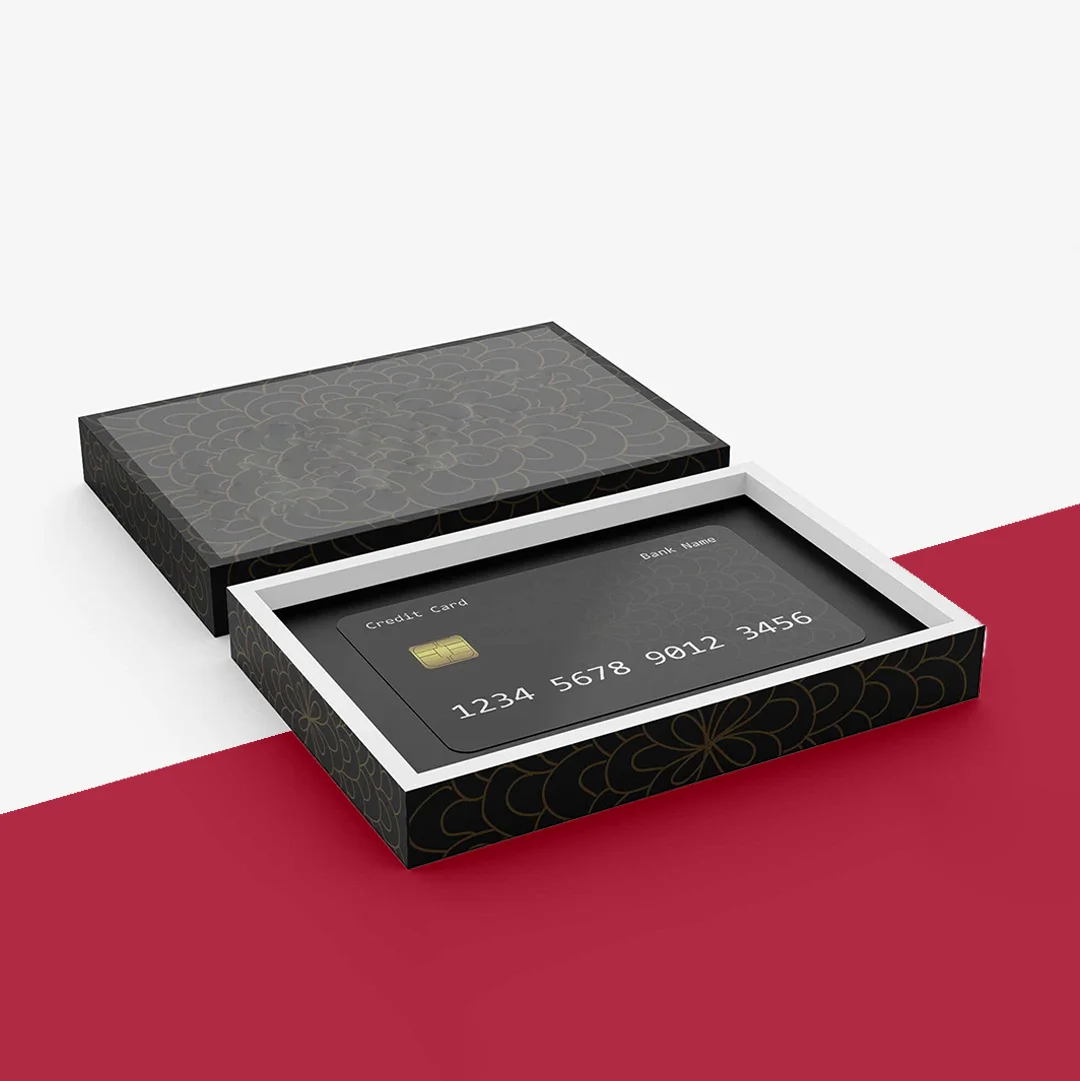

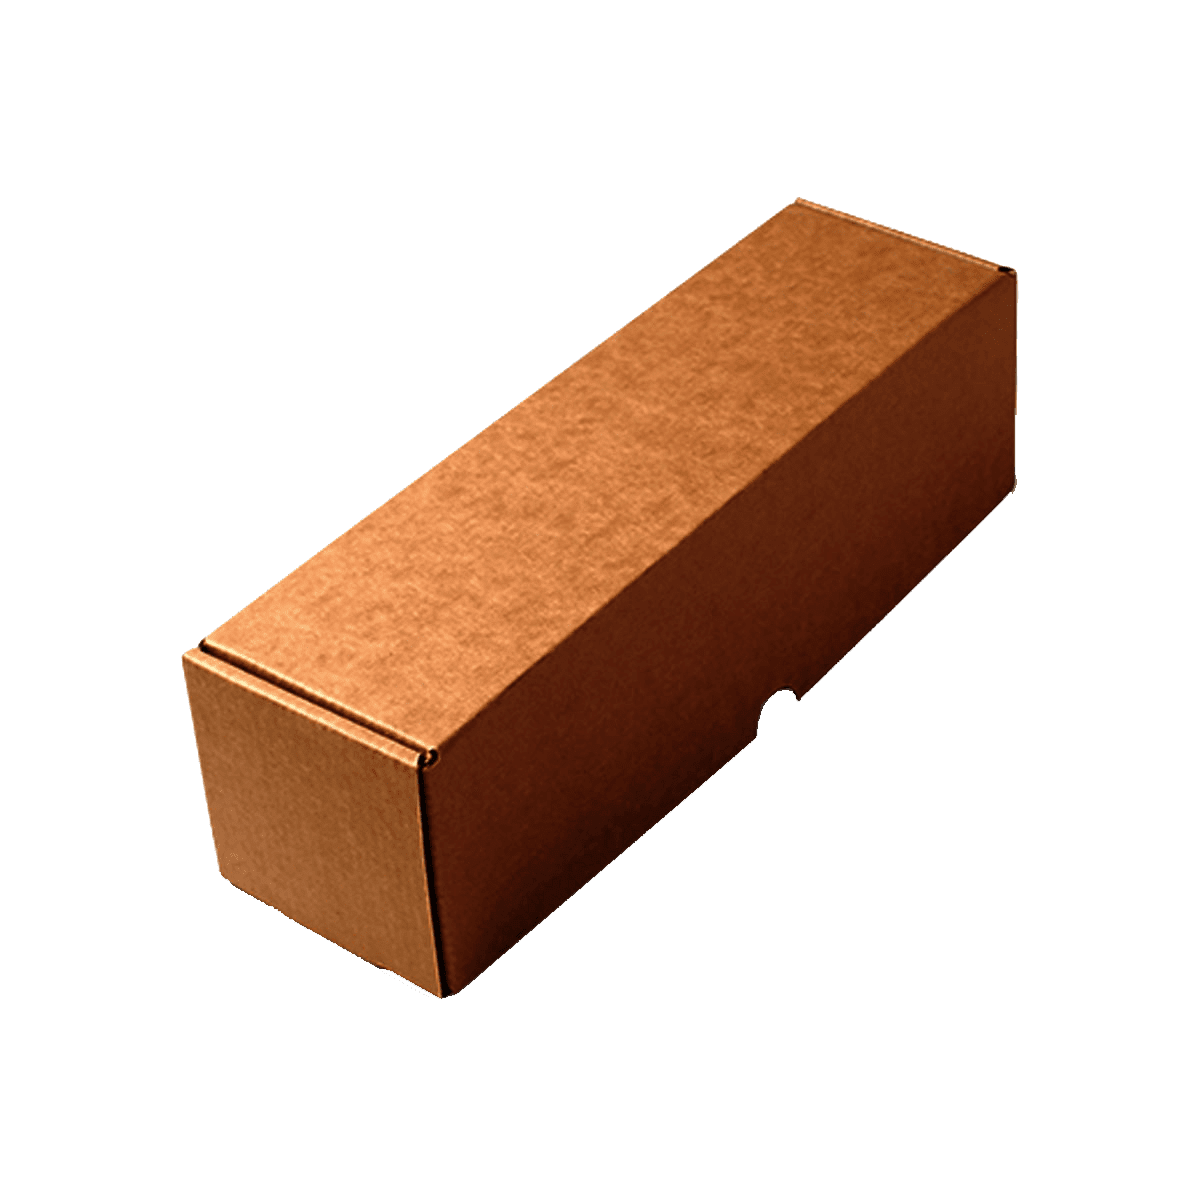
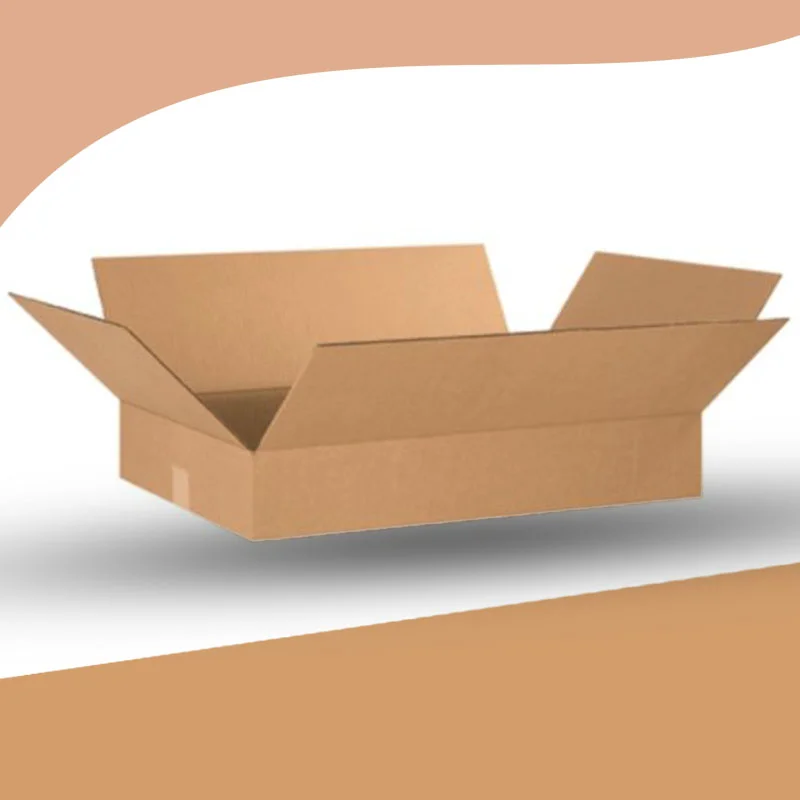
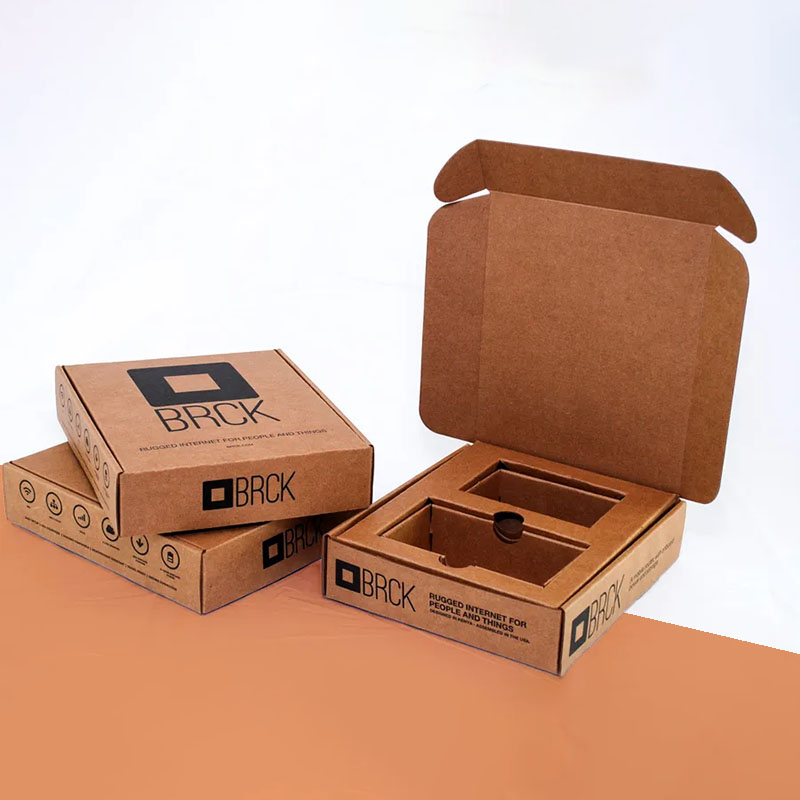
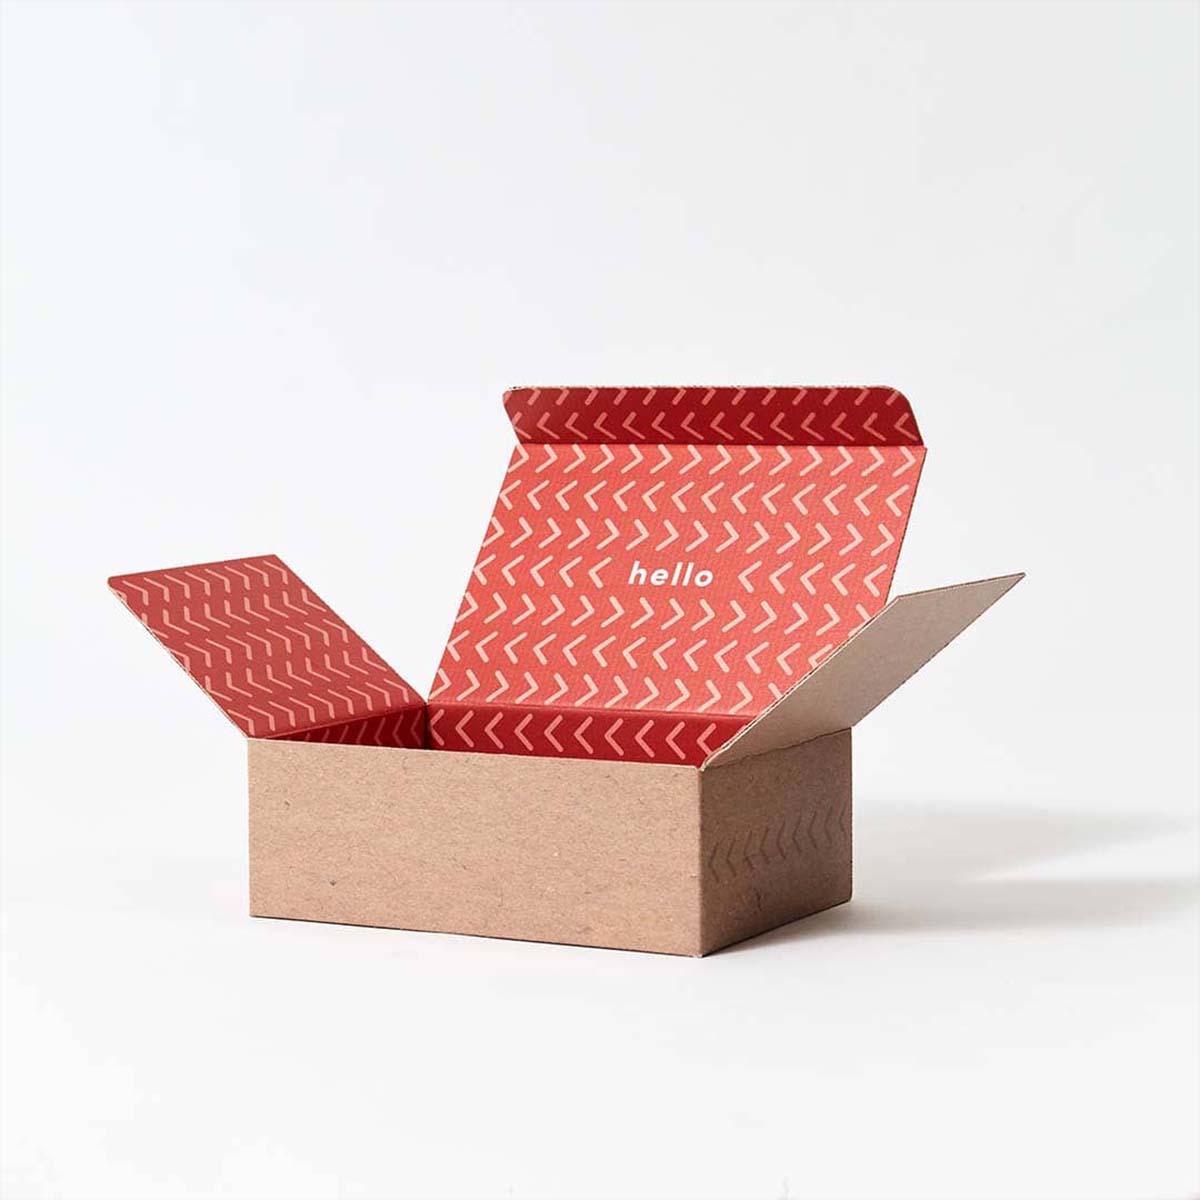
How the rise-up mechanism works
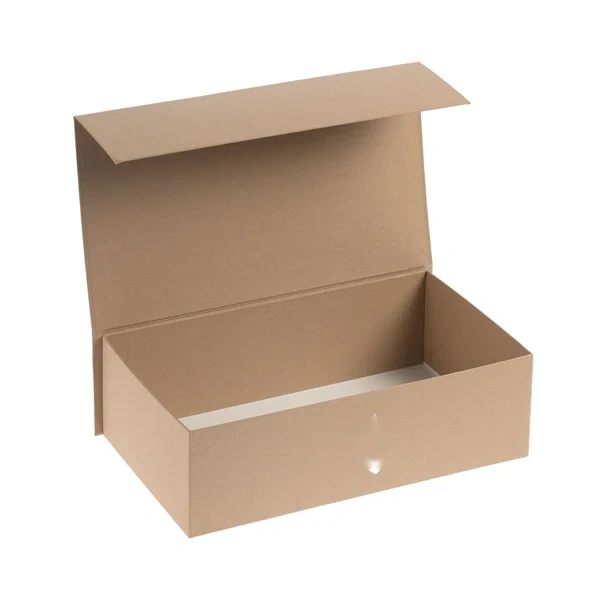
- A separate insert card is glued to the inside of the hinged lid panel.
- Its lower end folds into a cradle that the product sits in.
- Lifting the tuck pulls the cradle up, so the product rises toward the opening.
- Closing the lid lets the cradle drop back, and the product settles again.
- The carton is still a standard straight tuck, with both tucks hinging from the same side.
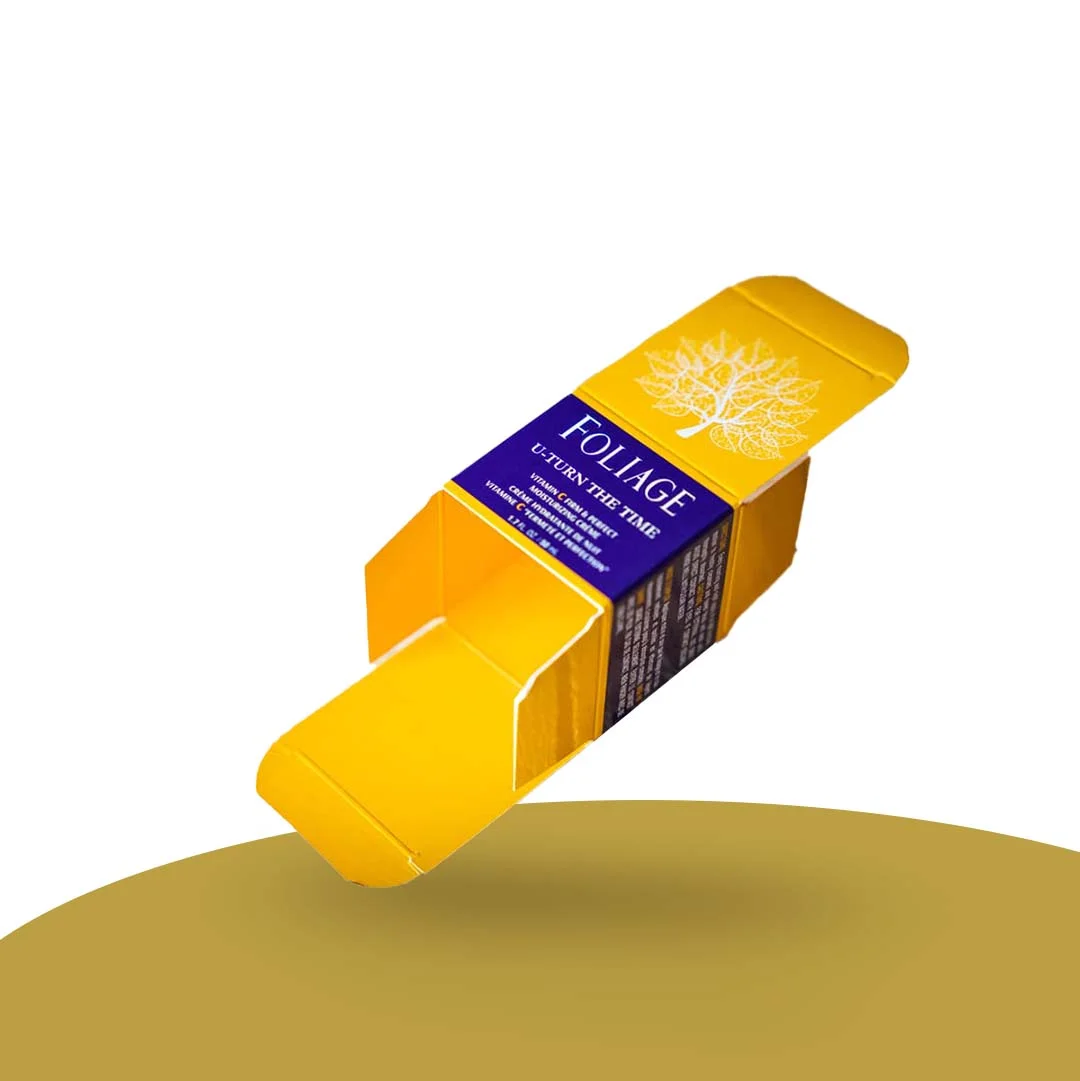
What the lift is good for
The rise-up insert earns its glue line on products that are slim, tall or easy to drop: lip and eye pencils, dropper bottles, serum vials, pens, vape devices, small electronics and single tubes of cream. The product is presented upright and centered, which is also how it photographs best in an unboxing. If you only need the carton itself, our plain straight tuck end cartons are the simpler and cheaper build.
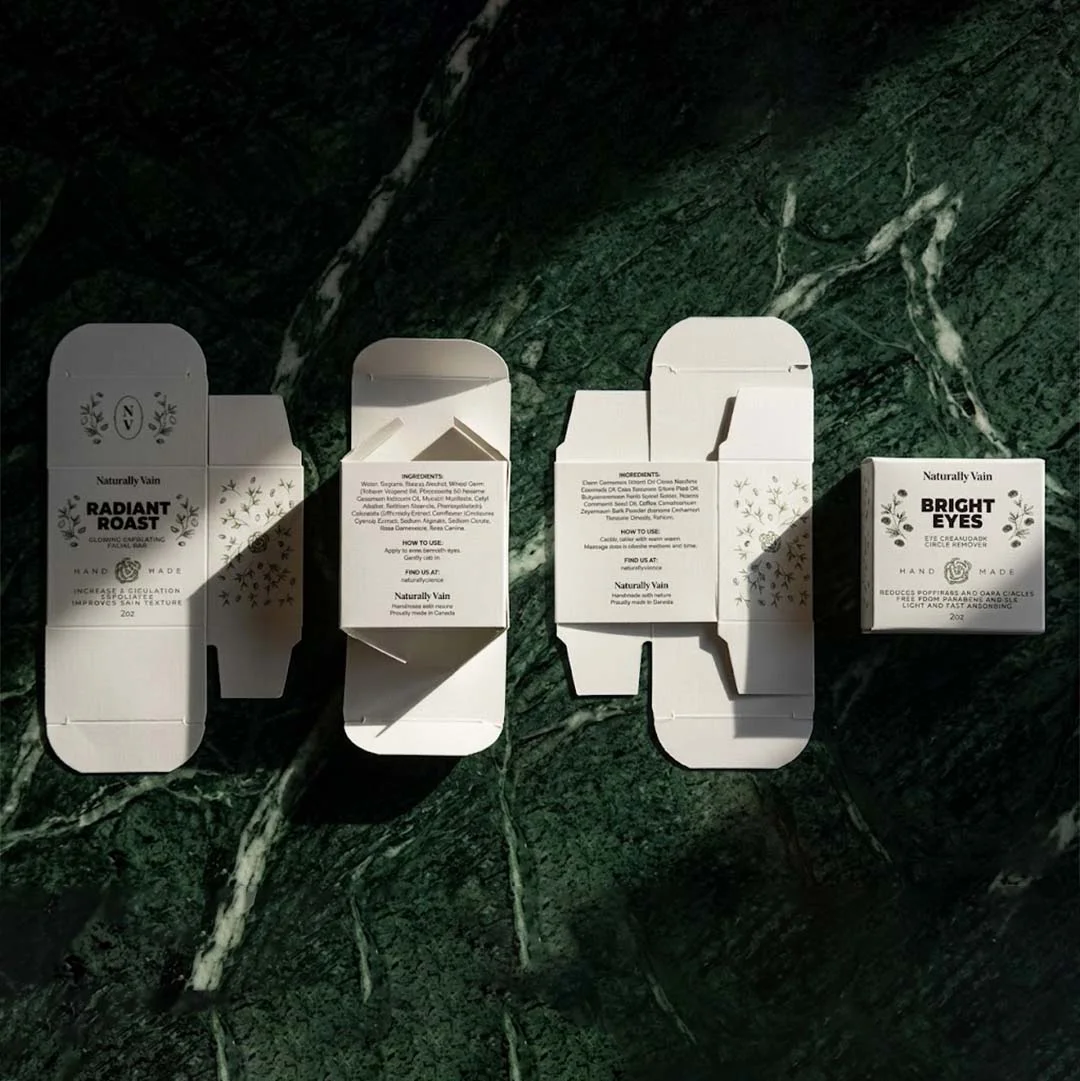
Cradle shapes we cut
| Single slot | One die-cut hole holds a pen, pencil or vial upright |
|---|---|
| Shaped cradle | Cut to the profile of a bottle shoulder or device body |
| Tilted shelf | The platform rises at an angle so the label faces the buyer |
| Twin slot | Two items side by side, such as a product and its refill |
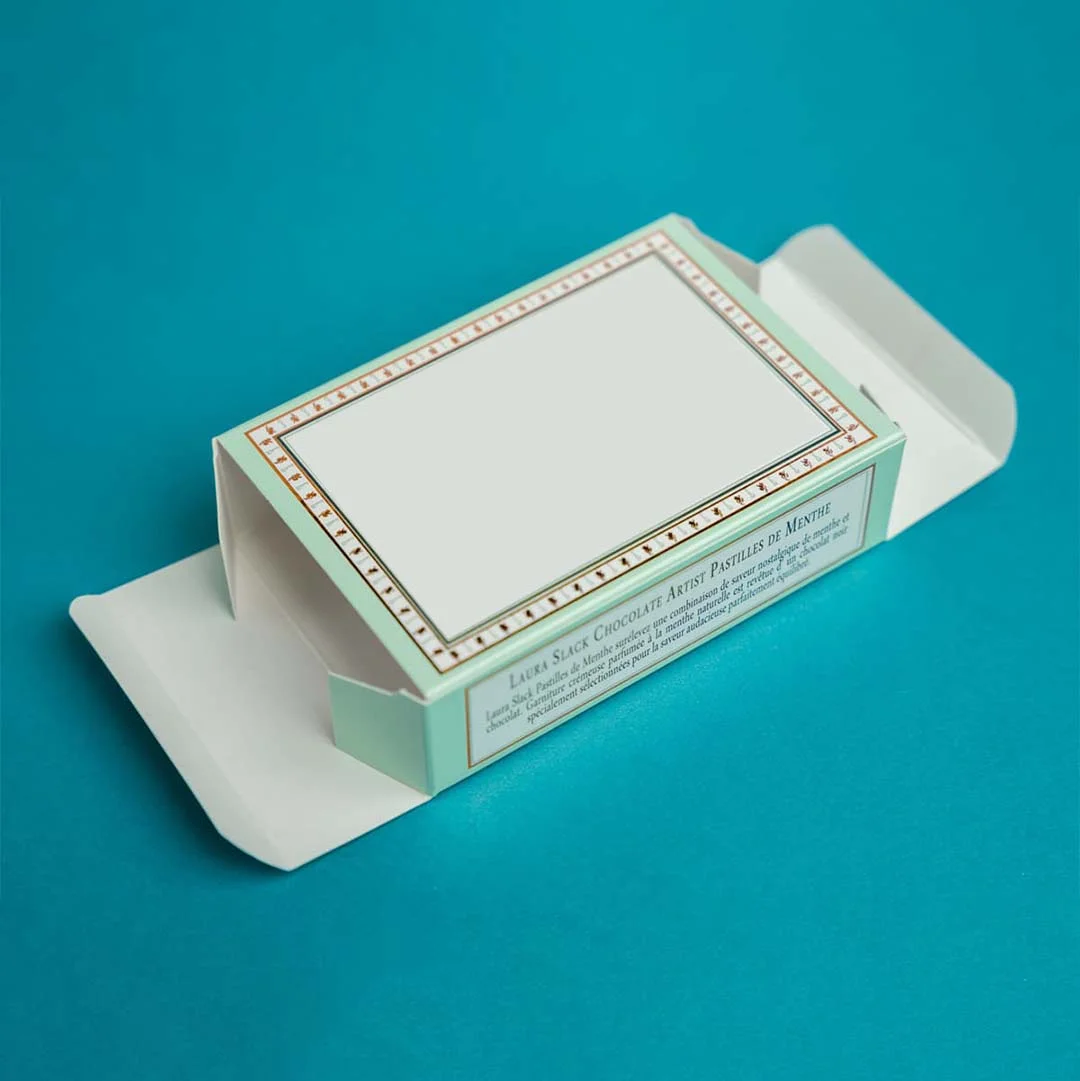
Sampling the lift before print
The height a product rises depends on where the insert is glued, the length of the cradle arm and the weight it carries. A heavy glass dropper drags the platform down; a light pen can lift too far and tip. We cut a plain sample to your product first, adjust the glue position until the lift is right, and only then print. Send us one real unit, not just its dimensions, because cap shape and weight both change the result.
Straight Tuck with Rise UP Inserts — specification
The rows that are specific to this build first, then what applies to every job we run. Anything not listed is a question, not a limit — send the brief.
This build
- Board
- 16–24 pt SBS for the carton and insert; kraft-backed board on request
- Build
- Straight tuck end carton with a glued rise-up insert card
- Insert
- Single slot, shaped cradle, tilted shelf or twin slot
- Full color outside; insert printed or plain
- Finish
- Matte or gloss lamination, soft-touch, foil, spot UV
- Sampling
- Plain sample cut to your product to set the lift height
- Minimum
- 100 boxes
On every job
- Print process
- Digital below about a thousand, offset above it. One side or both, with spot colors where a match has to hold.
- Color
- CMYK as standard. Uncoated and kraft stocks print lighter and warmer; a spot color is the only exact match.
- Tolerance
- Cutting plus or minus 1 mm, creasing plus or minus 0.5 mm, confirmed on a plain sample before the run.
- Tooling
- A cutting die per size, made once and kept. Foil and emboss dies per artwork, also kept.
- Food contact
- Food-grade board and inks where the carton touches food, with the interior left plain.
- Sustainability
- Mono-material board wherever the product allows; recycled-content and FSC stocks; no claim printed the pack does not earn.
- Artwork
- Vector PDF or AI, 3 mm bleed, 4 mm safe area, fonts outlined. We check every file and send a proof before press.
- Dieline
- Supplied free with the quote, before you commit. Yours whether or not you order.
- Sample
- A plain unprinted sample at the finished size on request, for fit and construction.
- Reorders
- Skip the tooling and go straight to press at a lower unit price.
- Lead time
- Quoted with the price against your fill date rather than promised before we have seen the spec.
- Markets
- United States, United Kingdom, Canada, Australia — priced in the delivery currency, freight included.
Boards and films we build straight tuck with rise up inserts on
A folding carton is one sheet of board, so the board is the product. These are the stocks we run for cartons, what each is good at, and where it lets you down.
Natural kraft
Unbleached folding board. Warm, hides marks, costs least. Mutes color — one or two flat colors print well, photographs do not.
250–350gsm sleeves; 14–24pt cartonsWhite SBS
Solid bleached sulfate: bright, coated, the retail carton standard. Takes accurate color and every finish. Shows scuffs sooner than kraft.
14–24ptWhite lined chipboard
A recycled gray core under a white printing face. Cheaper than SBS and slightly duller; the back of the sheet stays gray.
16–24ptKraft-look coated
A kraft face over a coated inner. The natural look with a barrier behind it — the answer where oil, grease or moisture would mark plain kraft.
14–20ptRecycled-content board
Post-consumer fiber with a gray-brown cast. Right for outers and inner components; poor for bright whites and photography.
16–22ptMicro-flute E and F
A fine corrugated layer where a carton needs structure it cannot get from board — a large panel, a heavy product, a box that ships alone.
E 1.5 mm; F 0.8 mmUncoated and textured
No clay coat, or a linen or laid grain. Print reads softer and warmer; a deboss goes deeper. Photographs do not sit well on it.
280–350gsmMetalized and pearlescent
A metallic or pearl face for a shelf that needs to catch light. Costly, and it fights a photograph — a mark or a pattern suits it better.
16–20ptNot sure which? Say what goes in it and where it is sold — the material follows from that. Our notes on recycled, recyclable and compostable cover which claims each stock can honestly carry.
- 01
Send what you have
A dimension, a photograph beside a ruler, or the product itself. No technical drawing needed — that part is ours.
- 02
We quote and draw
A price, a dieline and a date come back together. If a different build would suit the product better, that is in the reply too.
- 03
Approve the dieline
The flat drawing is yours to check: which panel is the front, where the folds fall, how deep the cavity really is.
- 04
Artwork on the dieline
You place your design on the flat we sent, or we place it for you, and you see a proof before anything goes to press.
- 05
A sample if you want one
A plain unprinted sample at the finished size shows fit and construction — the things a drawing cannot.
- 06
Cut, printed, shipped
The die is cut once and kept, so every reorder skips the tooling and goes straight to press at a lower unit price.
Format
Vector PDF or AI where possible. Raster artwork at 300dpi at final size, in CMYK.
Bleed
3 mm past every trim line, so a fraction of drift on the cutter never leaves a white edge.
Safe area
Keep type and anything important 4 mm inside the cut and away from every fold.
Color
Convert to CMYK before sending. Uncoated stock prints lighter; a spot color is the only exact match.
Fonts
Outline them or supply the files. A missing font substitutes silently and the proof will not match.
Barcodes
On a light, matte, unvarnished patch with the quiet zone clear — a code on gloss fails the scanner.
Not set up that way? Send it anyway — fixing a file is a short conversation, and we check every one before press. Our guide to preparing print files covers each point.
Every finish here is a decision about light on a shelf, not about luxury.
Matte lamination
Reads considered, hides marks, takes a ballpoint.
Gloss lamination
Lifts color; glares under shop lighting.
Soft-touch
Velvet in the hand; shows fingerprints in a bag.
Hot foil
Real metal leaf — the most reliable premium signal.
Emboss / deboss
Shape with no ink; works in the dark.
Spot UV
Gloss shapes on a matte field.
Uncoated kraft
Warm, natural, mutes color.
Textured stock
Texture in the paper; cannot scuff off.
Not sure which suits the shelf it sells from? Say where the product is sold and we suggest one — our notes on specialty finishes show them on real boxes.
Sizing a folding carton so the die comes out right: straight tuck with rise up inserts
Measure the product, not the box it is in now. A carton is built around what has to fit inside it, assembled — cap on, lid fitted, folded if it folds — at its widest point in each direction. Send those three numbers and say which is which.
- Length x width x height
- Internal, always. External dimensions include the board and are what the carrier measures, not what the product needs.
- Clearance
- 2–3 mm a side for a snug fit; more where an insert or void fill goes in. A carton cut exactly to the product is slow to pack and transmits every knock.
- Board thickness
- Heavier board takes internal space from the product. It matters most on small boxes, where four walls of 24pt is a real share of the cavity.
- Varies between batches?
- Glass, textiles, molded parts and cured soap all do. Measure several and build to the largest.
- Cutting tolerance
- Plus or minus 1 mm on folding board. Confirmed on a plain sample before the run.
- Units
- Metric or imperial, as long as you say which. Mixing them in one spec is where mistakes happen.
Not sure your numbers are right? Send the product dimensions rather than the box dimensions and we work the box out — the full method is in our guide to measuring for a box.
Interactive · five steps · no sign-up
Build your Straight Tuck with Rise UP Inserts in 3D
Pick a shape, type a size, choose a board and a finish. The preview on the left redraws as you go, and the spec lands with us exactly as you set it.
Frequently asked questions
Got a question about straight tuck with rise up inserts? The answers below cover what we get asked most. If yours is not here, send it with a brief, message us on WhatsApp, or call +1 503-461-4788 — we reply the same working day.
What is a rise-up insert in a straight tuck box?
A card platform glued to the lid panel. Opening the tuck pulls it upward, so the product inside rises to the opening.
Which products suit a straight tuck box with a rise-up insert?
Slim or tall items that are awkward to tip out: pencils, droppers, serum vials, pens and small devices.
How high does the product rise when the tuck opens?
It depends on the glue position, the cradle arm and the product’s weight. We set it on a plain sample before printing.
Why do you need a real unit to make the rise-up insert?
Cap shape and weight change how the platform moves. Dimensions alone do not show that.
Can the rise-up insert hold two items?
Yes, a twin-slot cradle holds two items side by side, such as a product and its refill.
Can the insert tilt the product toward the buyer?
Yes. A tilted shelf raises the product at an angle so its label faces out when the lid opens.
Is the rise-up insert printed?
It can be. Many brands print a short message or color on it; it can also stay plain white.
Does the rise-up insert work in a reverse tuck carton?
It is built for a straight tuck, where the lid and the glued insert share the same hinge side.
Is the insert glued at the factory?
Yes. The insert is glued to the lid panel during finishing, and the carton is packed with the insert in place.
Does the lift still work after the box is opened many times?
Yes, for normal use. The card hinge flexes like the tuck itself; very heavy glass can tire it over time.
What is the minimum order for straight tuck boxes with rise-up inserts?
100 boxes per size. The sample sets the glue position, which carries over to every reorder.
Same range