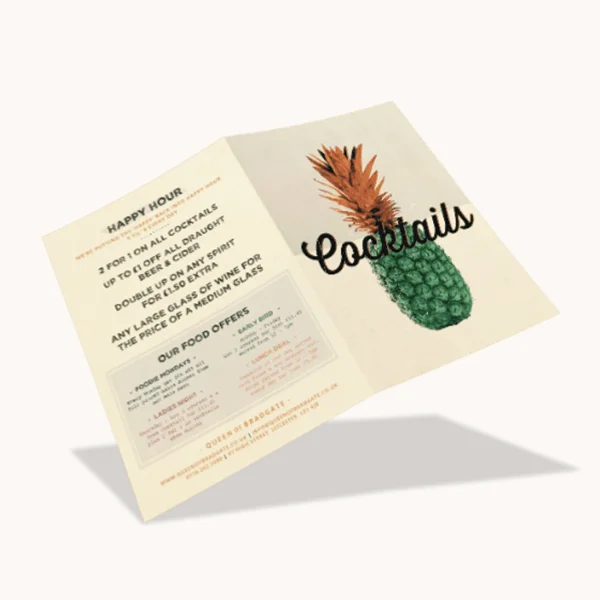
Custom Laminated Menu
Custom laminated menus built to be wiped down between covers, from 50 copies. Sealed edges so nothing wicks in, a film weight matched to how often the menu is handled, and rounded corners because square ones are what start delamination.
A menu is a serving item, and it gets treated like one
- Film
- 3, 5, 7 or 10 mil each side; gloss, matte or anti-microbial
- Edge
- Sealed 2–3 mm beyond the paper on all sides as standard
- Corners
- Rounded as standard; square on request
Get a price for Laminated Menu
Send the size and quantity — we reply the same working day with a price, a dieline and a date. Artwork optional at this stage.
- Free dielineThe flat drawing comes with the quote, before you commit.
- Proof before pressNothing is printed until you have seen it laid on the dieline.
- Die kept for reordersTooling is paid once. Every reorder skips straight to press.
- Quoted in four marketsUS, UK, Canada and Australia, in the delivery currency.
Film weight, chosen by how the menu is used
Five mil is right for most restaurants. Three mil menus flop in the hand and crease at the corner; ten mil menus are effectively boards, which is right for a bar or an outdoor terrace and heavy for a dining room.
| 3 mil each side | Light: a specials insert or a menu replaced every few weeks |
|---|---|
| 5 mil each side | The standard: rigid enough to hold, survives months of service |
| 7–10 mil each side | Board-stiff: outdoor boards, poolside, high-volume diners |
| Anti-microbial film | Any weight, with an additive that inhibits growth on the surface |
The sealed edge, which decides how long it lasts
Lamination fails at the edge. If the film is trimmed flush with the paper, every wipe and every spill works liquid into the cut edge, the paper wicks it, and the menu clouds and separates from the outside in — usually within a month of real service.
A sealed edge leaves two to three millimeters of film beyond the paper, welded to itself all the way around, so there is no paper exposed anywhere. It costs a little more sheet and it is the difference between a menu that lasts a season and one that lasts a year. We seal as standard and would rather you did not buy an unsealed menu from anyone.
Round the corners. A square laminated corner is sharp, it catches on cloths and pockets, and it is where delamination starts even on a sealed edge.
Gloss, matte and what each does under lights
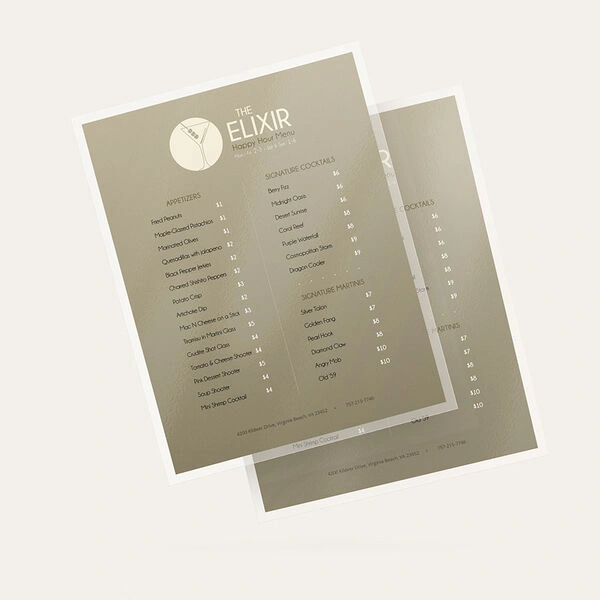
Restaurant lighting is low and directional, which is exactly the condition where gloss lamination throws a reflection across the type and a guest has to tilt the menu to read it. Matte film removes that entirely, and it also hides fingerprints, which accumulate on a menu faster than on anything else in a dining room.
Gloss earns its place where the menu carries food photography and the room is bright — a diner, a takeout counter, a fast-casual board. The wider question of what a finish does to a printed surface is in our guide to choosing a print finish.
Formats, and the prices that change
The insert is the one worth planning for. Prices and specials change; a menu that has to be fully reprinted every time one line moves is an expensive habit, and a slim insert or a rivet-bound page solves it for a few cents.
- Single sheet, one or two sides — the simplest and the easiest to reprint.
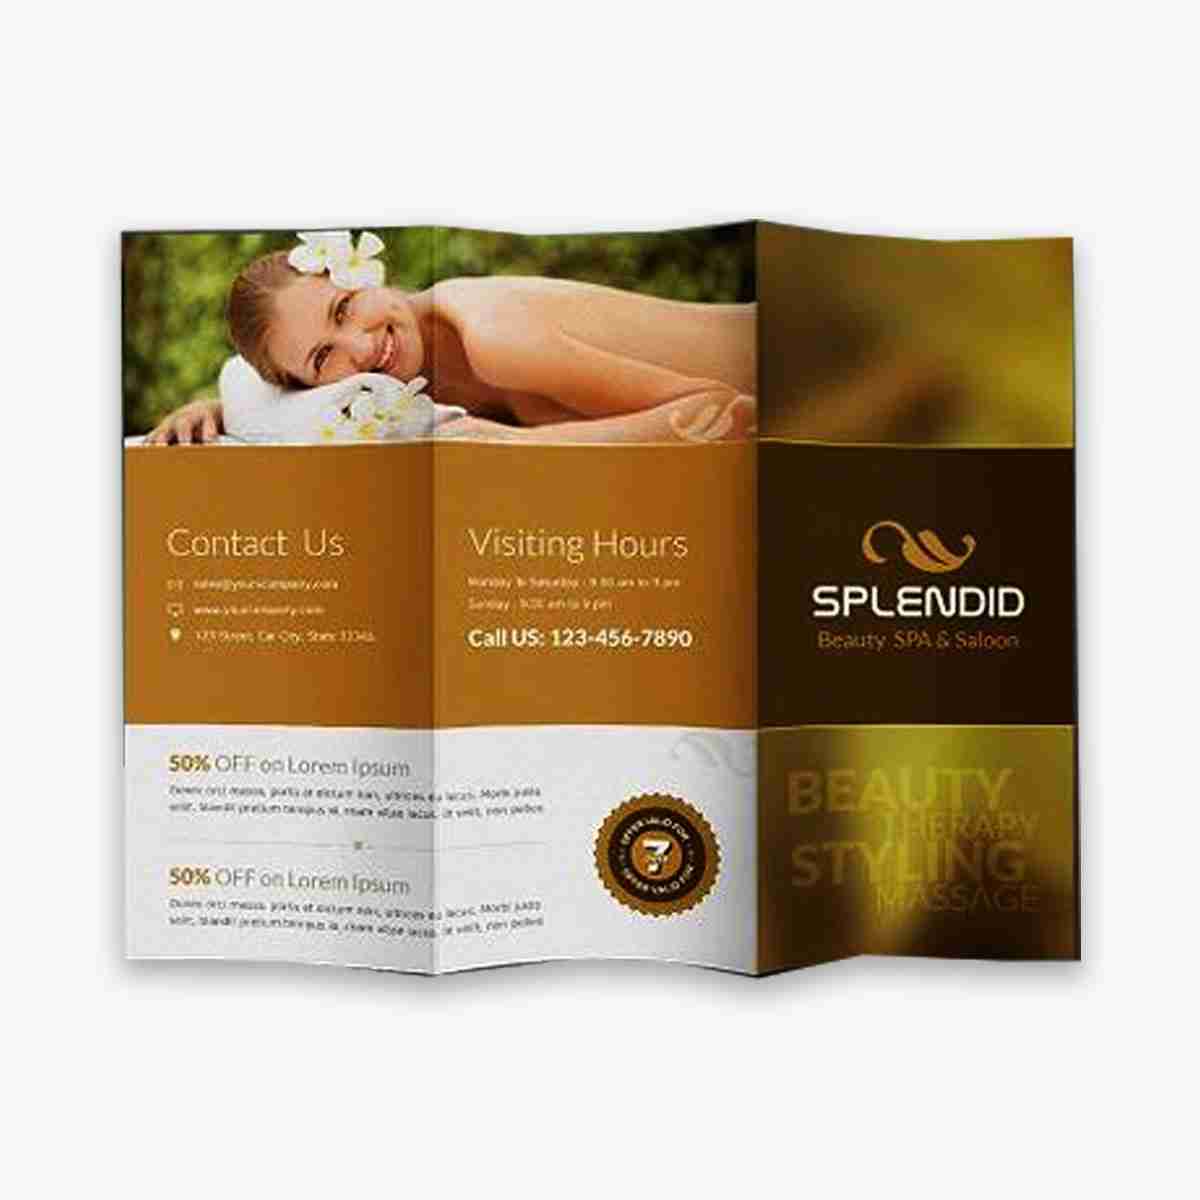
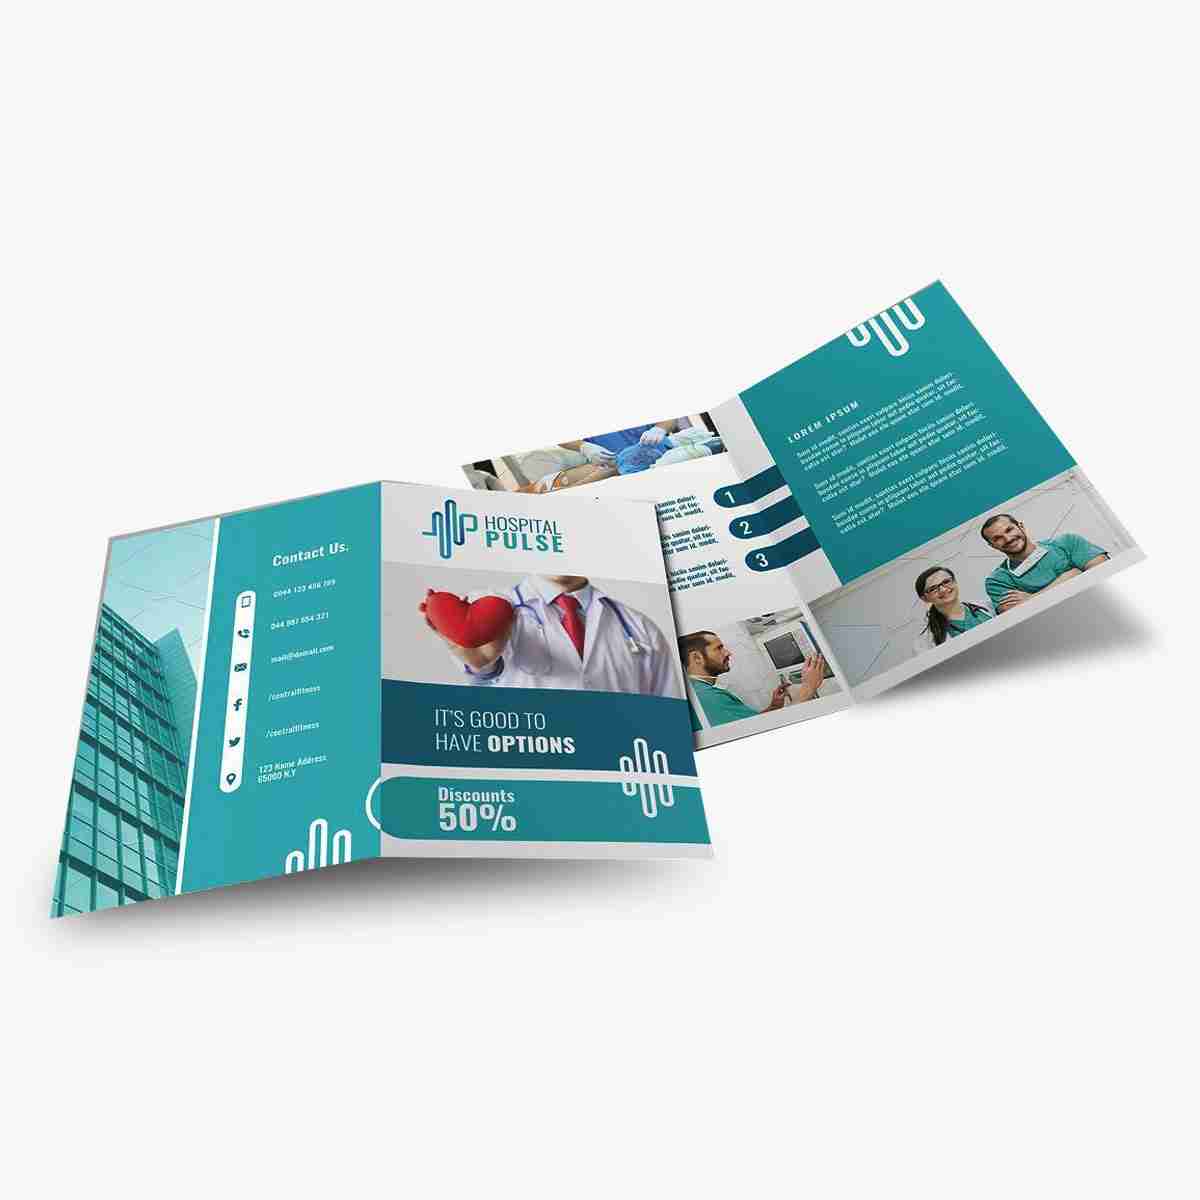
- Folded to a bifold or trifold, laminated after folding so the fold is sealed too.
- Multi-page with a corner rivet or a screw post, so a single page can be replaced.
- A separate laminated insert for specials, which stops the whole menu being reprinted when one dish changes.
Printing the menu underneath the film
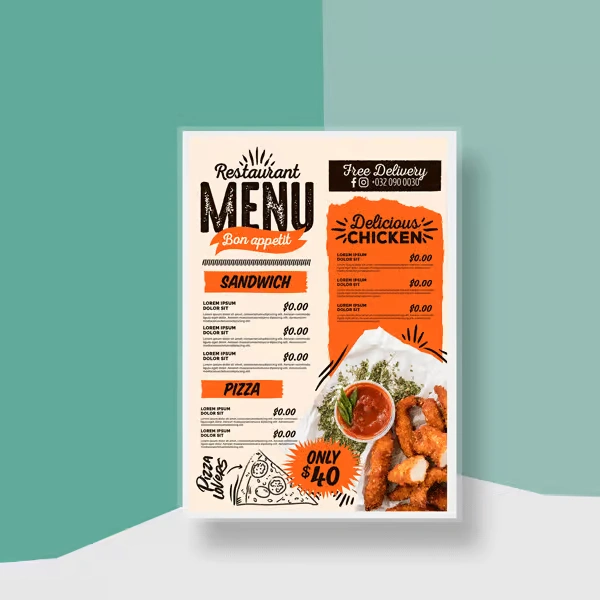
Lamination shifts color slightly — it deepens dark tones and adds a little saturation — so a menu approved on an unlaminated proof will look marginally different finished. It is predictable and we account for it, but it is worth seeing a laminated sample if the menu carries brand colors or food photography.
The stock underneath should be 250–350 gsm. Lighter paper laminates into something that feels like a document; heavier stock plus 5 mil film gives the weight that reads as a proper menu. File setup is the same as any print job, and our guide to preparing print-ready files covers the bleed the sealed edge needs.
Laminated Menu — specification
The rows that are specific to this build first, then what applies to every job we run. Anything not listed is a question, not a limit — send the brief.
This build
- Film
- 3, 5, 7 or 10 mil each side; gloss, matte or anti-microbial
- Edge
- Sealed 2–3 mm beyond the paper on all sides as standard
- Corners
- Rounded as standard; square on request
- Stock
- 250–350 gsm before lamination
- Formats
- Single sheet, bifold, trifold, rivet-bound multi-page, specials insert
- Sizes
- A4, A5, DL, 8.5 x 11 in, 11 x 17 in; custom trims
- Minimum
- 50 menus
On every job
- Print process
- Digital below about a thousand, offset above it. Both sides as standard on cards, tags and leaflets.
- Color
- CMYK with spot colors for a brand match. Uncoated and cotton stocks print noticeably lighter than coated ones.
- Tolerance
- Trim plus or minus 1 mm guillotined, plus or minus 0.5 mm die-cut. Anything over about 170gsm is creased before folding.
- Tooling
- A die only where the piece is shaped, perforated or drilled, made once and kept. A plain rectangle needs none.
- Food contact
- Food-safe inks on menus and counter print that will be handled where food is served.
- Sustainability
- Uncoated and unlaminated stocks recycle without separation, and FSC papers are available across the range.
- Artwork
- Vector PDF or AI, 3 mm bleed, 4 mm safe area, fonts outlined. We check every file and send a proof before press.
- Dieline
- Supplied free with the quote, before you commit. Yours whether or not you order.
- Sample
- A plain unprinted sample at the finished size on request, for fit and construction.
- Reorders
- Skip the tooling and go straight to press at a lower unit price.
- Lead time
- Quoted with the price against your fill date rather than promised before we have seen the spec.
- Markets
- United States, United Kingdom, Canada, Australia — priced in the delivery currency, freight included.
Boards and films we build laminated menu on
Sheet print is judged in the hand more than a box is: the weight, the surface and whether a pen works on it. These are the stocks we run for cards, folders, leaflets and stationery.
Coated card 300–400gsm
The workhorse. Sharp full-color print, matte or gloss, laminated where it is handled. Does not take a pen unless the finish is matte.
300–400gsmUncoated card
No clay coat. Colors read softer and warmer, a deboss goes deeper, and it writes on with anything. Photographs lose punch.
300–400gsmCotton and textured card
Soft, thick and fibrous. Takes a deep blind deboss and reads as an invitation. Foil sits beautifully; four-color does not.
400–700gsmDuplexed card
Two sheets bonded, often with a colored core, for a very thick card with a visible colored edge. The heaviest thing we print.
600–900gsmText paper 100–170gsm
Leaflets, folder inners and booklet pages. Folds without cracking and takes a full-color print on both faces.
100–170gsmManila and kraft paper
Unbleached, tan, and cheap. One or two colors read well; white ink gives a light mark. Envelopes, folders and tags.
90–300gsmSynthetic stock
Polypropylene sheet for tags and cards that get wet, torn or handled outdoors. Prints like paper and does not soften.
200–400 micronBoard-backed
A printed face laminated to grayboard, for a rigid card, a folder back or a display that has to stand up on its own.
1–2 mm boardNot sure which? Say what goes in it and where it is sold — the material follows from that. Our notes on recycled, recyclable and compostable cover which claims each stock can honestly carry.
- 01
Send what you have
A dimension, a photograph beside a ruler, or the product itself. No technical drawing needed — that part is ours.
- 02
We quote and draw
A price, a dieline and a date come back together. If a different build would suit the product better, that is in the reply too.
- 03
Approve the dieline
The flat drawing is yours to check: which panel is the front, where the folds fall, how deep the cavity really is.
- 04
Artwork on the dieline
You place your design on the flat we sent, or we place it for you, and you see a proof before anything goes to press.
- 05
A sample if you want one
A plain unprinted sample at the finished size shows fit and construction — the things a drawing cannot.
- 06
Cut, printed, shipped
The die is cut once and kept, so every reorder skips the tooling and goes straight to press at a lower unit price.
Format
Vector PDF or AI where possible. Raster artwork at 300dpi at final size, in CMYK.
Bleed
3 mm past every trim line, so a fraction of drift on the cutter never leaves a white edge.
Safe area
Keep type and anything important 4 mm inside the cut and away from every fold.
Color
Convert to CMYK before sending. Uncoated stock prints lighter; a spot color is the only exact match.
Fonts
Outline them or supply the files. A missing font substitutes silently and the proof will not match.
Barcodes
On a light, matte, unvarnished patch with the quiet zone clear — a code on gloss fails the scanner.
Not set up that way? Send it anyway — fixing a file is a short conversation, and we check every one before press. Our guide to preparing print files covers each point.
Sheet print takes the widest range of finishes of anything we make.
Matte lamination
Soft, fingerprint-resistant, and it still takes a pen. The default on anything handled.
Gloss lamination
Maximum color depth. Shows every fingerprint and refuses a ballpoint.
Hot foil
Gold, rose gold, silver, holographic or a color. The block is small so the die is cheap.
Emboss and deboss
Deepest on uncoated and cotton stocks; shallow and prone to cracking on gloss coated.
Spot UV
A gloss shape on a matte laminate. Best on a dark ground where the contrast reads.
Edge paint and colored core
Color on the cut edge of a thick or duplexed card. Only seen when the card is picked up, which is the point.
Soft-touch
A velvet laminate on a cover or a folder. Marks on white; excellent on dark.
Uncoated and textured
No film at all. Writes on, debosses deeply, and reads as considered rather than cheap.
Not sure which suits the shelf it sells from? Say where the product is sold and we suggest one — our notes on specialty finishes show them on real boxes.
Sizing printed sheets, folds and the grain: laminated menu
A printed piece is specified flat and finished folded, and the difference between the two is where mistakes live. Send the finished size you want and we work back to the flat.
- Finished size
- The size after folding and trimming. A6, A5, A4, DL, US letter and legal are standard; anything else is cut on its own die.
- Bleed and safe area
- 3 mm of artwork past every trim edge, and nothing important within 4 mm inside it. The guillotine drifts by a fraction on every stack.
- Grain direction
- Paper folds cleanly along the grain and cracks across it. We set the grain to the fold, which is why a sheet is not simply cut from the biggest sheet available.
- Fold allowance
- On a roll fold or a gate fold, the inner panels are cut a millimeter or two shorter so the piece closes flat.
- Creasing
- Anything over about 170gsm is creased before folding. Without it the fold cracks and the coating flakes along the line.
- Trim tolerance
- Plus or minus 1 mm guillotined, plus or minus 0.5 mm die-cut.
Not sure your numbers are right? Send the product dimensions rather than the box dimensions and we work the box out — the full method is in our guide to measuring for a box.
Interactive · five steps · no sign-up
Spec your Laminated Menu
Pick a shape, type a size, choose a stock and a finish. The preview on the left redraws as you go, and the spec lands with us exactly as you set it.
Frequently asked questions
Got a question about laminated menu? The answers below cover what we get asked most. If yours is not here, send it with a brief, message us on WhatsApp, or call +1 503-461-4788 — we reply the same working day.
Which film weight should I choose?
5 mil each side for a dining room — rigid enough to hold and it survives months of service. 3 mil for short-life inserts, 7–10 mil for outdoor or high-volume use.
What is a sealed edge?
The film extends two to three millimeters past the paper and welds to itself, so no paper is exposed. Without it, wipes and spills wick into the cut edge and the menu clouds.
Why round the corners?
Square laminated corners are sharp, catch on cloths and pockets, and are where delamination starts. Rounding is free and doubles the practical life.
Gloss or matte?
Matte for a dining room — restaurant lighting is low and directional, and gloss throws a reflection across the type. Gloss suits bright rooms with food photography.
Can menus be cleaned with sanitizer?
Yes, with a sealed edge. Alcohol wipes are fine on the film; it is the exposed paper edge on an unsealed menu that fails.
Is anti-microbial film worth it?
It inhibits growth on the surface between wipes. It is not a substitute for cleaning, and we would rather sell you a sealed edge than an additive.
Can I replace one page?
With a rivet or screw-post binding, yes. It is the cheapest way to handle a menu where one section changes often.
How do I handle changing prices?
A separate laminated specials insert. Reprinting a whole menu because one line moved is an expensive habit.
Will the colors match my proof?
Close, though lamination deepens darks slightly. If brand color or food photography matters, ask for a laminated sample before the run.
What stock goes under the film?
250–350 gsm. Lighter paper laminates into something that feels like a document rather than a menu.
Can you laminate a folded menu?
Yes, laminated after folding so the fold is sealed too. It is stiffer than a flat menu and holds its shape.
What is the minimum order?
50 menus. They print digitally, so a small restaurant can reprint a season at a time rather than stockpiling.
Same range